Introduction
IoT sounds exciting—until you try building your first prototype and feel overwhelmed by hardware, software, and connectivity choices.
For Indian beginners, budget limits, component availability, and network constraints add extra confusion.
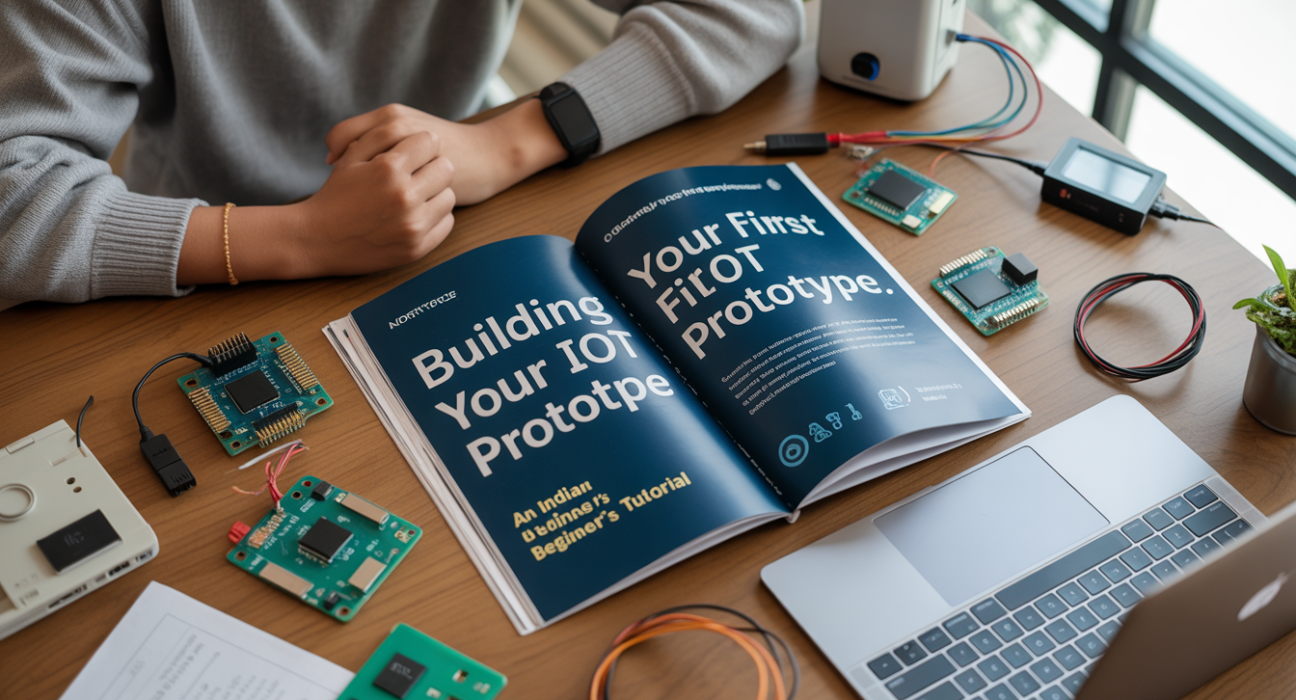
This beginner-friendly tutorial breaks down Building Your First IoT Prototype into clear, practical steps—so you can move from idea to working demo with confidence.
What is Building Your First IoT Prototype?
Building Your First IoT Prototype is the process of creating a small, working Internet of Things system using sensors, a microcontroller, connectivity, and software to collect and share real-world data.
In simple terms, it’s a test version of an IoT product that helps beginners validate ideas, learn core concepts, and demonstrate functionality before scaling.
Why It Matters & Who Benefits
Building an IoT prototype early reduces risk, cost, and confusion.
Who benefits the most:
- Students & beginners learning IoT fundamentals hands-on
- Startup founders validating product ideas quickly
- CTOs & tech leads testing feasibility before investment
- Tech buyers evaluating hardware and platforms
- Educators teaching applied IoT skills in India
How It Works: Core Concepts Explained
Basic IoT Architecture
Every IoT prototype follows the same flow:
Sense → Process → Connect → Analyze → Act
- Sensors capture data
- A controller processes it
- Connectivity sends it online
- Software analyzes it
- Output triggers action or visualization
Key Hardware Components
Microcontroller (Brain):
- Arduino Uno (best for absolute beginners)
- ESP8266 / ESP32 (Wi-Fi built-in, popular in India)
- Raspberry Pi (for advanced prototypes)
Sensors (Inputs):
- Temperature & humidity (DHT11/DHT22)
- Motion (PIR)
- Light (LDR)
- Gas (MQ series)
Actuators (Outputs):
- LEDs
- Relays
- Buzzers
- Motors
Connectivity Options in India
Choosing the right network is crucial.
- Wi-Fi: Most common, low cost, ideal for homes and labs
- Bluetooth: Short range, low power
- Cellular (4G/5G): For remote locations
- LoRaWAN: Long range, low data, growing in India
Software & Platforms
Device Programming:
- Arduino IDE
- MicroPython
- PlatformIO
Cloud & Dashboards:
- Blynk
- ThingSpeak
- AWS IoT Core
- Azure IoT Hub
Practical Use Cases & Examples
Example 1: Smart Temperature Monitor
Scenario: Monitor room temperature remotely.
Components used:
- ESP8266
- DHT11 sensor
- Wi-Fi
- Free cloud dashboard
Outcome: Real-time temperature updates on a mobile app.
Example 2: Smart Agriculture Soil Monitor
Scenario: Help Indian farmers optimize irrigation.
Prototype features:
- Soil moisture sensor
- ESP32
- Cloud data logging
- Mobile alerts
Value: Saves water and improves crop yield.
Example 3: Home Automation Demo
Scenario: Control lights using a smartphone.
Core idea:
- Relay module + ESP32
- Wi-Fi control
- Mobile app interface
Step-by-Step: Build Your First IoT Prototype
Step 1: Define the Problem
Ask one clear question:
What data do I want to collect or control?
Keep the scope small for your first build.
Step 2: Select Components
For beginners in India, a safe starter kit includes:
- ESP8266 or Arduino Uno
- DHT11 sensor
- Breadboard & jumper wires
- USB cable
- Power supply
Step 3: Assemble the Hardware
- Connect sensors using jumper wires
- Follow pin diagrams carefully
- Avoid soldering in early stages
Step 4: Write & Upload Code
- Use example libraries
- Start with sample sketches
- Test one component at a time
Step 5: Connect to the Cloud
- Create a free dashboard
- Send sensor data via Wi-Fi
- Visualize using charts or gauges
Step 6: Test, Debug, Improve
- Check power stability
- Validate sensor accuracy
- Improve enclosure and wiring
Comparison: Popular Boards for Beginners
| Board | Cost (INR) | Connectivity | Skill Level | Best For |
|---|---|---|---|---|
| Arduino Uno | ₹600–900 | None | Beginner | Learning basics |
| ESP8266 | ₹300–500 | Wi-Fi | Beginner | Low-cost IoT |
| ESP32 | ₹500–800 | Wi-Fi + BLE | Intermediate | Scalable prototypes |
| Raspberry Pi | ₹3,000+ | Ethernet/Wi-Fi | Advanced | Edge computing |
Benefits & Limitations
Pros of Building Your First IoT Prototype
- Low-cost learning experience
- Hands-on understanding of IoT
- Faster idea validation
- Portfolio-ready projects
- High relevance in Indian job market
Cons & Limitations
- Limited scalability
- Security often basic
- Hardware reliability varies
- Network dependency
- Requires troubleshooting patience
Implementation & Adoption Checklist
Before finalizing your prototype, ensure:
- Clear problem definition
- Stable power supply
- Secure Wi-Fi credentials
- Error handling in code
- Data visualization working
- Documentation completed
Tip: Always maintain a component cost sheet for budgeting.
Frequently Asked Questions(FAQs)
What is the easiest IoT prototype for beginners?
A temperature monitoring system using ESP8266 and DHT11 is the easiest IoT prototype. It requires minimal wiring, simple code, and free cloud dashboards, making it ideal for Indian beginners learning IoT fundamentals.
How much does it cost to build an IoT prototype in India?
A basic IoT prototype in India costs between ₹1,000–₹3,000, depending on the board, sensors, and connectivity used. Wi-Fi-based projects are the most affordable for beginners.
Do I need coding experience to build an IoT prototype?
Basic programming knowledge helps, but it’s not mandatory. Most beginner IoT platforms offer sample code and libraries, allowing learners to build functional prototypes with minimal coding experience.
Which board is best for first-time IoT learners in India?
ESP8266 and ESP32 are the best choices for first-time learners due to low cost, built-in Wi-Fi, strong community support, and easy availability across Indian electronics markets.
Can IoT prototypes be converted into products?
Yes. IoT prototypes help validate ideas. With improvements in security, enclosure, and scalability, they can evolve into market-ready products after testing and refinement.
Conclusion
Building Your First IoT Prototype is the fastest way for Indian beginners to understand IoT beyond theory. Start small, focus on one problem, and use affordable components available locally.
Recommendation: Begin with a Wi-Fi-based prototype using ESP8266 and free cloud tools.
Future outlook: As India expands 5G and smart infrastructure, beginner IoT skills will become even more valuable.
Read more: Industrial IoT in India: Transforming Manufacturing and Infrastructure
LSI / Semantic Keywords
- IoT prototype development
- IoT projects for beginners in India
- ESP8266 IoT tutorial
- IoT hardware components
- Smart device prototyping
- IoT development steps
- Beginner IoT projects